In the JCoder website, most of our tutorials make use of Gradle as the build system for our projects. Using a build system makes it easier to manage your Java project and gives readers a standard approach in all of our tutorials.
As not all readers know about Gradle, we’ve put together this tutorial where we’ll show how to import a Gradle project into Eclipse and IntelliJ.
Downloading an example project
For this exercise I’d recommend either downloading or cloning the example Java project using the GitHub link on the left hand side of this page (next to the Table of Contents header). Once you have the code in your machine, you’ll find a project with the following structure:
-
build.gradle: This is the main configuration file for our Gradle project and is what defines how our build process will look like for our project.
Inside that file, you’ll see we apply a plugin:apply plugin: 'java'that prepares a lot of the heavy-lifting for us and configures our Gradle project as a Java project.
For more details, you can check the Java Gradle plugin page here. -
src/main/java: This is the folder where we’ll add our Java files.
Other files and folders will be covered in later tutorials and courses.
Importing the project into IntelliJ
When running IntelliJ for the first time as shown in the previous section, IntelliJ will display a Welcome screen with an Import Project option. If you’ve already imported/created a project before, you might need to click on File → Close Project to go back to the Welcome screen.
Select that option and select the root folder where you downloaded the example project. Make sure you select the folder that contains the build.gradle file.
In the Import wizard, select the following options:
-
Select
Import project from external modeland selectGradleas the option as this is a Gradle project. -
In the next step, make sure the
Gradle projectfolder is pointing to the folder that has thebuild.gradlefile.
You can leave the other options with the defaults values and click Finish.
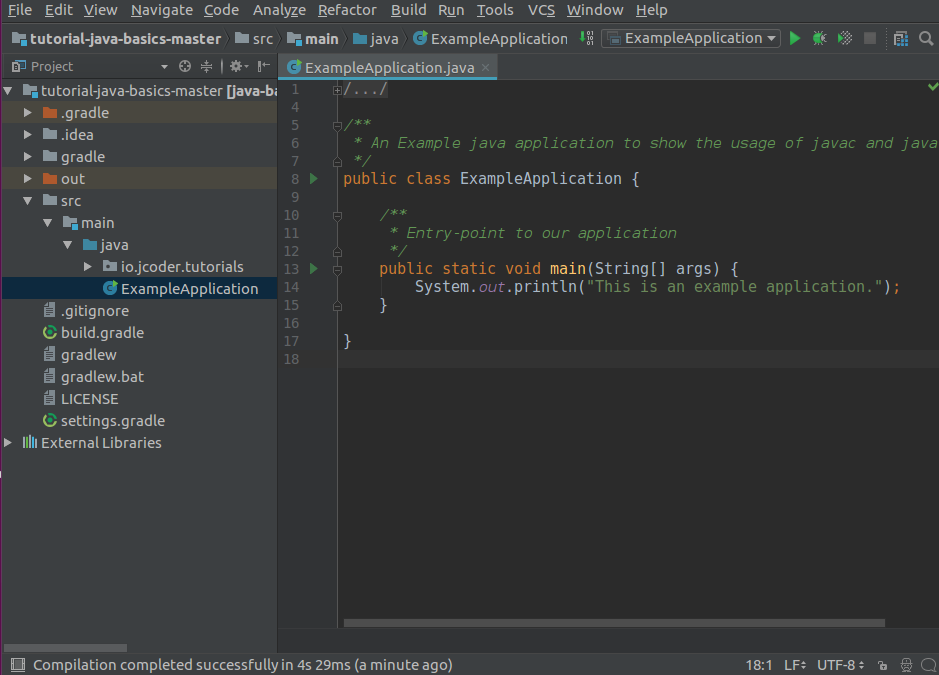
Once the project is imported, IntelliJ should open it automatically. You can expand the project to check the files. Look for the ExampleApplication file which should be inside the src/main/java folder and double-click on it.
You should be seeing something like this:
Compiling the project
You can compile/build the project via the Build menu or just by pressing Ctrl+F9 (shortcut in Mac might be different).
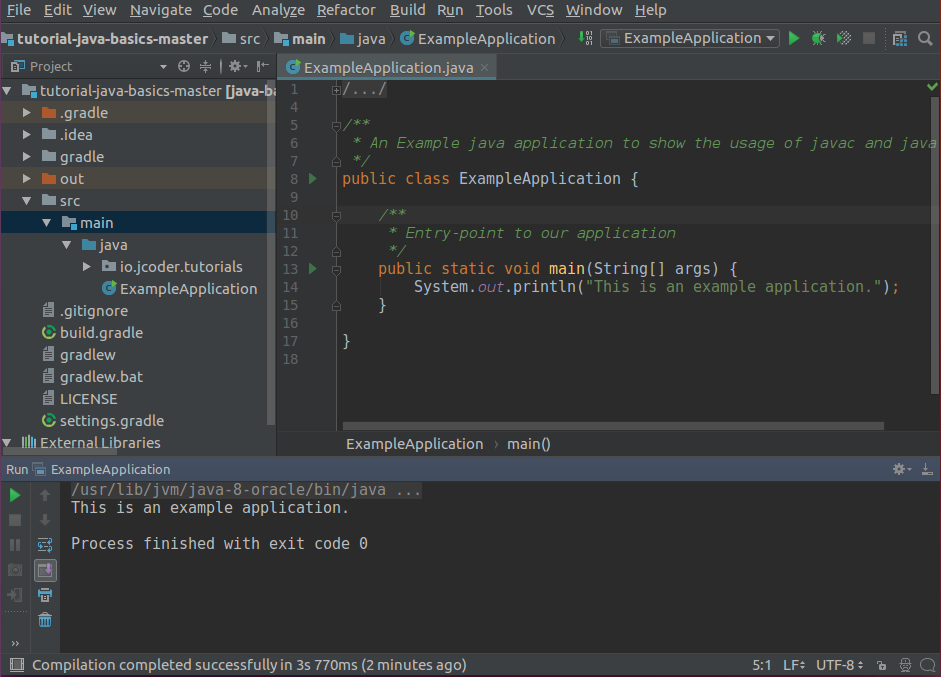
Running the Example
Inside of the ExampleApplication file, right click anywhere in the text and in the Context menu select the Run ExampleApplication main() option.
If everything worked ok, IntelliJ should display a new section on the bottom with the details of the recent execution (Run window) and you should be able to see the output of the application, for example: